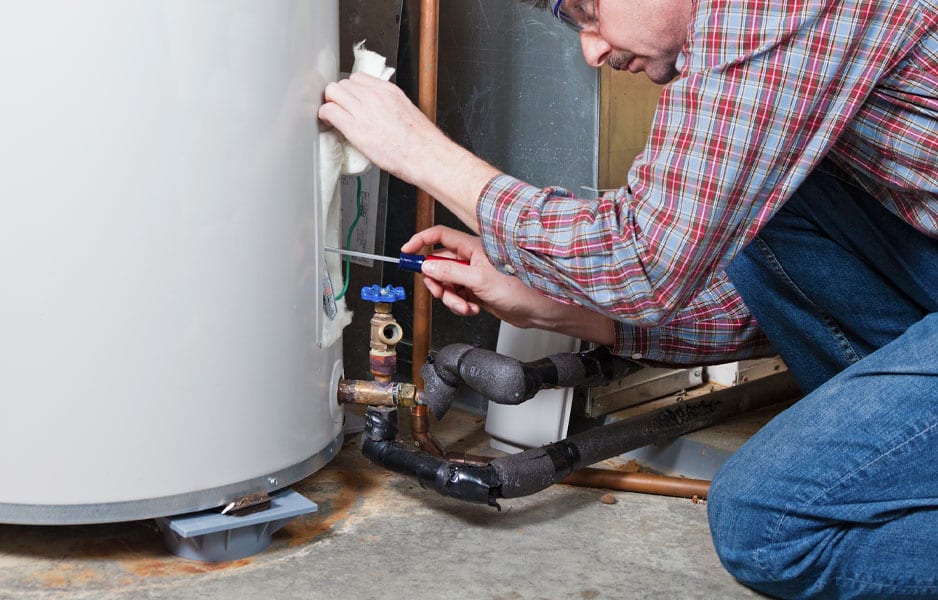
How to Flush a Water Heater
It’s easy to forget your water heater exists until something goes wrong and you need to fix it. Water heaters don’t require a lot of attention, but it is important to perform periodic maintenance on them to ensure they’re running properly. A plumber should service your water tank on a yearly basis to test and inspect everything. In addition to a regular inspection, it’s also important to flush water heater once every few months. Learning how to flush a water heater yourself rather than calling a plumber each time can be an easy way to save some money.
Why Flush Water Heater?
Flushing your water heater removes sediment from your water and helps improve its overall performance and lifespan. If the sediment in your water is left alone to calcify, it will be difficult to clean out and remove from your water heater. This may eventually lead to the entire unit needing replaced.
In some areas, the limestone found in the ground can cause your water to be hard. Hard water creates a sediment that will build up within your water heater. This can cause major problems in both natural gas and electric water heaters.
When Should You Flush Your Water Heater?
On average, water heaters should be flushed every six months, but if you have hard water with lots of sediment, the process might be necessary as often as every three months.
What Do You Need to Do Before Flushing Your Hot Water Heater?
Before you start flushing your hot water heater, you’ll need to figure out how to turn it off and whether the pilot light needs to be lit by hand. You can locate this information in your owners manual or online by searching the brand of water heater you have in your home.
How to Flush A Water Heater
- Begin by shutting off the water supply. You may have to do this where the supply enters your home or there may be a shut-off valve located near your water softener.
- Once you’ve shut off the water supply, turn down the heater’s thermostat. Heating the tank without water in it can cause damage.
- Find a hose and connect it to the water tank’s drain valve, which should be located toward the bottom. Position the other end of the hose somewhere safe for water to drain. It’s important to ensure the water is draining far enough away from your house.
- Next, turn on all of your hot water faucets to help drain the water from the tank faster and release pressure.
- Once everything has been prepped, open the drain valve on the heater and let the water drain out. Keep an eye on the water that is coming out and be sure to adjust the positioning of your hose if necessary. If you open the valve and no water drains out, sediment might already be clogging the tank. In this case, you’ll need to open up the tank’s temperature pressure release and use a wet vacuum to suck out the sediment. Be sure to contact a plumber if you run into problems that you’re not sure how to fix.
- Once the tank has drained, turn on the cold water supply again to rinse out any sediment that remains. Once it has been running for a few minutes through the tank, check the other end of your hose to see if the water runs clear. Once it starts running clear, you can turn the water off.
- Next, remove the hose attached to the tank and use a wet/dry vacuum to such out any leftover sediment from the drain valve. Then close the valve and turn on the cold water supply again.
- Continue to leave the hot water faucets turned on until water begins to come out of them. Then, reset your water heater’s thermostat to your desired temperature and things should start working as normal again.
How Do You Drain a Tankless Water Heater?
The process for draining a tankless water heater is different from he process described above. You can purchase all the items you need to flush this type of heater, including a pump, a flush kit, and detailed instructions, from a local hardware store.
Flushing your tankless water heater on your own can save you the hassle of having a plumber do it, but it’s important to follow the correct steps. If you run into any problems or aren’t confident you’re completing the steps correctly, be sure to consult with a professional.


